Automating your shades is one of the easiest ways to feel like you’re living in the future, as the Jetsons predicted. If you already have existing shades, you might want to look at the RYSE SmartShade, which lets you convert existing shades to HomeKit-compatible ones with minimal installation.
HomeKit Weekly is a series focused on smart home accessories, automation tips and tricks, and everything to do with Apple’s smart home framework.
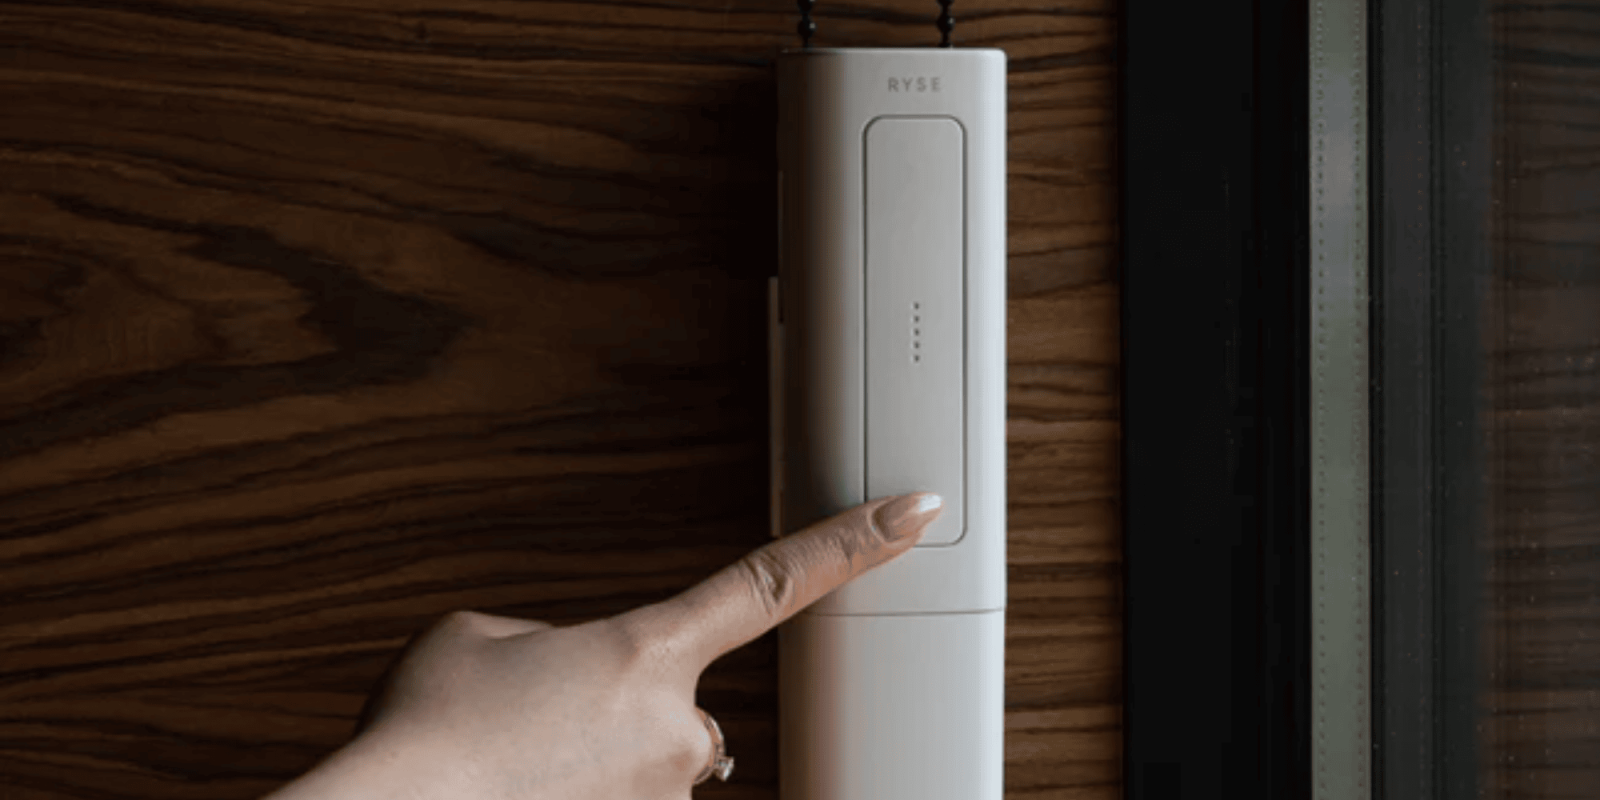
The RYSE SmartShade offers a cost-effective and straightforward solution for automating window shades. The bridge and shade controls can be installed in under 20 minutes, transforming window shades with beaded chains into motorized versions and smart home enabled ones. Users can operate their shades through our mobile application or directly via on-device controls (a big time bonus, in my opinion). With the Smart Bridge, you can:
- Establish routines or schedules, allowing for the automatic opening of shades at sunrise and closing at dusk to ensure privacy.
- Works with smart home ecosystems such as HomeKit, Google Home, or Amazon Alexa for voice-activated control.
- Simultaneously control multiple shades (group function) through the application.
Why on-device controls are needed – even with HomeKit
I’ve been a devout HomeKit user for 5+ years at this point. I have bought, tried, and used hundreds of devices. With that being said, the devices that end up being my favorite are the ones where HomeKit is an option. If I don’t have my iPhone with me, I love using physical controls. The RYSE SmartShade includes buttons on the hardware to let you open and close your shades without using HomeKit.
Installation of the SmartShade
Here are the tools you’ll need to install the RYSE SmartShade. One thing to check is to ensure no objects are attached to your beaded chain that could jam the device (e.g., ball stoppers, oversized bead connectors, and cord tensioners).
- SmartShade device
- Power adapter or battery pack
- Mounting bracket
- Screws
- Optional: Drill
- Screwdriver
- Pen or pencil
Installation process
- Remove any ball stoppers by applying force.
- Replace oversized bead connectors with those provided by RYSE, using force pliers or a flathead screwdriver for removal.
- Unscrew cord tensioners from the wall and remove the chain from the tensioner.
- Remove the SmartShade’s back cover by squeezing the sides.
- Lower the guide rail, wrap the beaded chain around the sprocket wheel, then push the guide rail back up and replace the back cover.
- Position the SmartShade on the bracket, ensuring it clicks securely into place. If adjustment is needed, use the release button on the bottom of the SmartShade.
- Position the SmartShade at the desired location on the window to outline the bracket’s placement with a pen or pencil.
- Ensure there’s no chain twist and that the window shade won’t collide with the device.
- If using a battery pack, attach it first to check for sufficient space in the window frame.
- Remove the SmartShade from the bracket to mark the screw holes on the wall.
- Pre-drill holes or place anchors if necessary, then screw the mounting bracket into the wall, ensuring the correct orientation.
- Reattach the SmartShade to the mounted bracket, ensuring the beaded chain is taut.
- Connect the power adapter to the SmartShade and plug it in, or attach the battery pack.
- Add the SmartShade to the RYSE app for operation.
Adding to HomeKit
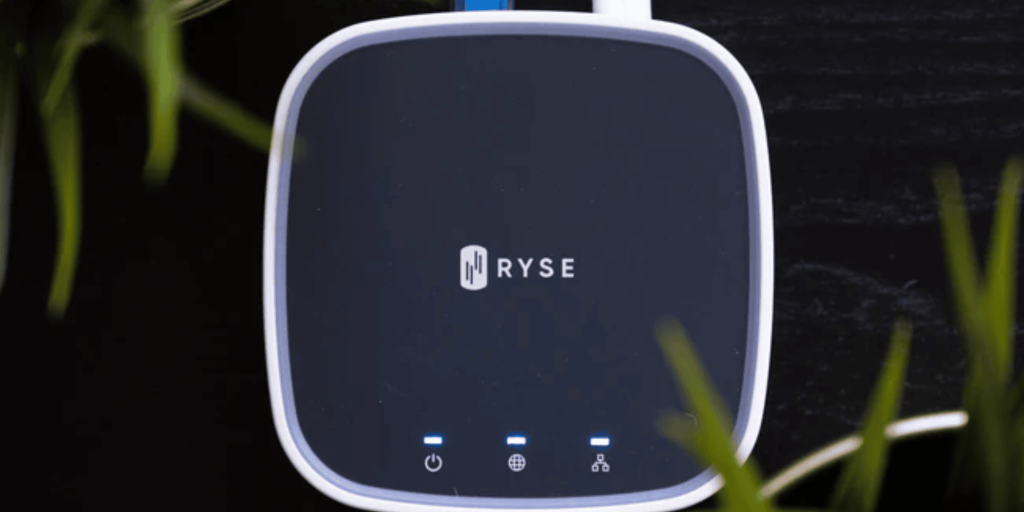
If you haven’t already, you’ll need to add the SmartBridge to HomeKit. I would start with the RYSE app so you can handle future firmware and software updates. You’ll want to plug it up to ethernet and power, add it to the app, and then scan the HomeKit code on the underside of the bridge.
Wrap up
The RYSE ecosystem is a prime example of the benefits of converting an existing home product into a HomeKit enabled one without needing to completely replace something. As long as you have a plastic bead or metal chain based shade, you can easily convert it to a HomeKit enabled one.
To complete the entire setup, you’ll need to RYSE Smart Bridge and the SmartShade with battery. Both of them can be purchased from Amazon or directly from RYSE.
FTC: We use income earning auto affiliate links. More.


Comments